Setting Up A Cloudflare Subdomain Redirect Correctly
How to Set Up a Simple URL Redirect on Cloudflare’s Free Plan
Ever needed to share a link to a webinar, a booking page, or an external service, but the URL is long, ugly, and impossible to remember? A common solution is to create a “vanity URL” or a simple redirect using your own domain, like webinar.yourdomain.com, which is much cleaner and more professional.
While Cloudflare is an incredible tool for performance and security, setting up a simple redirect on their free plan isn’t immediately obvious. The good news is that it’s very easy to do—it just requires two key steps.
This guide will walk you through creating a subdomain redirect in Cloudflare, so you can turn a complicated link into a simple, memorable one.
Step 1: Create a Proxied DNS Record
Before we can create a rule to redirect traffic, we first need to tell Cloudflare that the subdomain (e.g., webinar.yourdomain.com) actually exists and that Cloudflare should handle its traffic. This is where the first, slightly counter-intuitive step comes in.
- Log in to your Cloudflare dashboard and select the domain you want to use
(Account Home > click on your domain).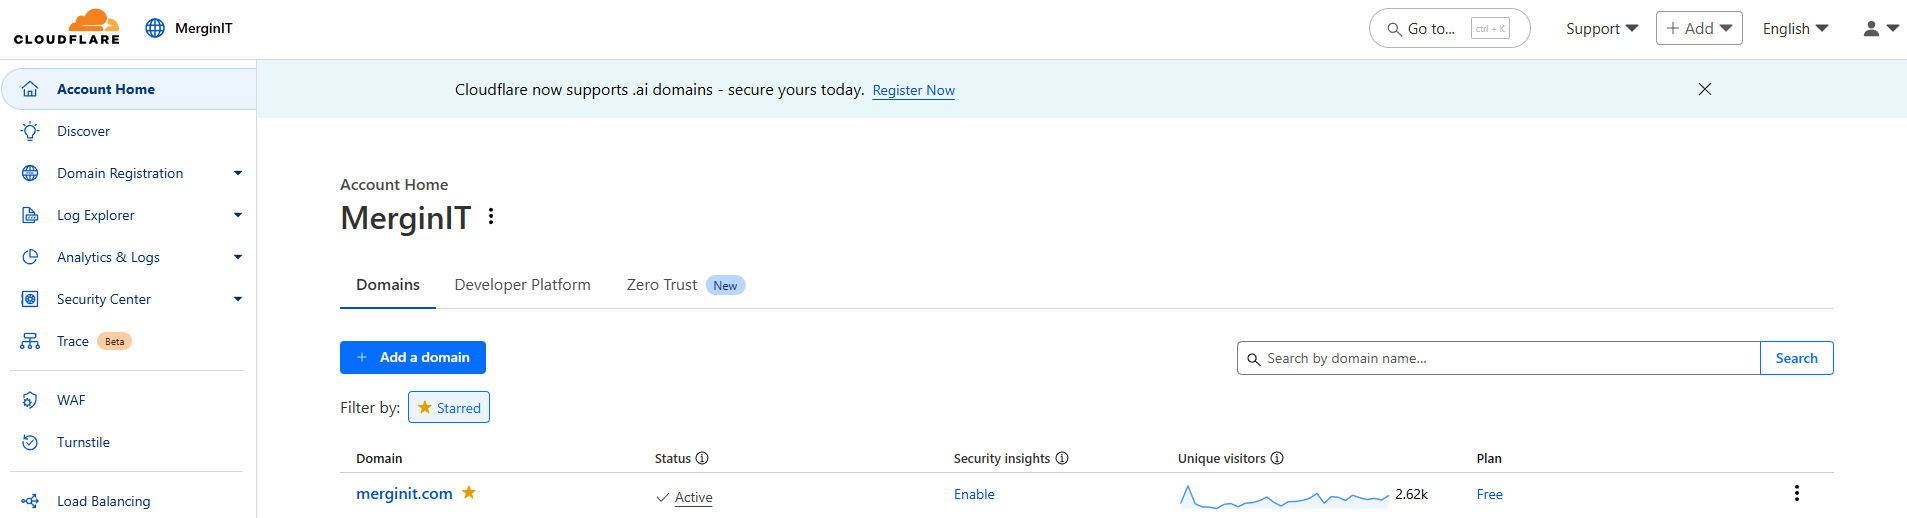
In the left-hand menu, navigate to DNS > Records.
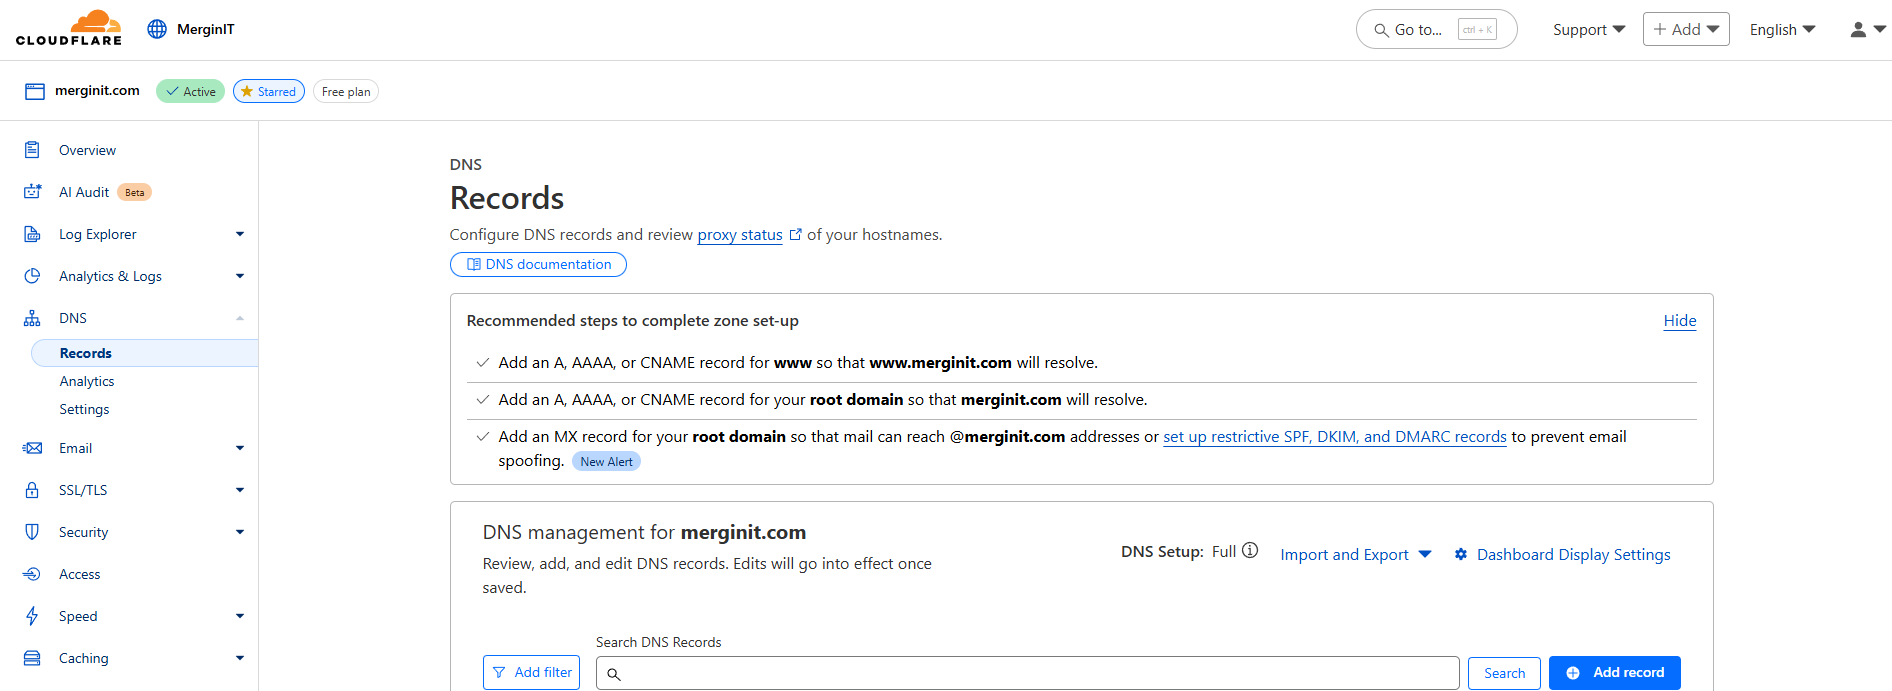
Click the Add record button.
Fill out the fields as follows:
- Type:
CNAME - Name: Enter your desired subdomain. For example, if you want the URL to be
webinar.yourdomain.com, you would just enterwebinar. - Target: Enter your root domain. You can simply use the
@symbol (root) for this. - Proxy status: This is the most important part. Make sure the status is set to Proxied. The cloud icon should be orange. This ensures that the traffic passes through Cloudflare’s network, which is what allows our redirect rule to work.
- Type:
Click Save.
Your DNS record tells Cloudflare, “When a request comes in for webinar.yourdomain.com, I want you to handle it.” Now, we’ll tell it what to do with that request.
Step 2: Configure the Redirect Rule
This is where we set up the actual redirect logic. We’ll create a rule that looks for requests to our new subdomain and sends them to our final destination URL.
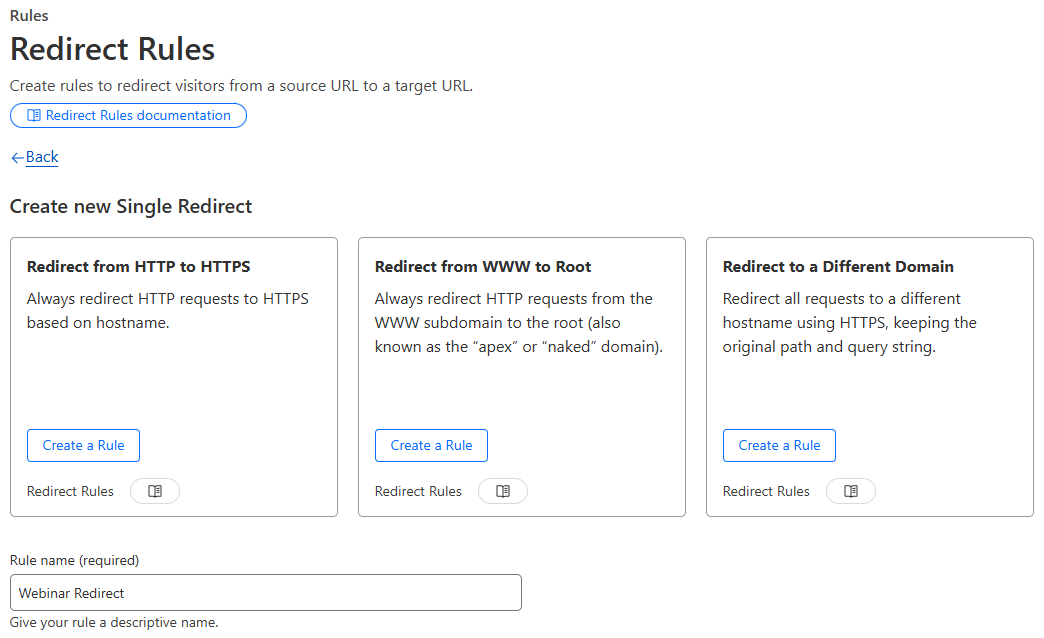
In the left-hand menu, navigate to Rules > Redirect Rules.
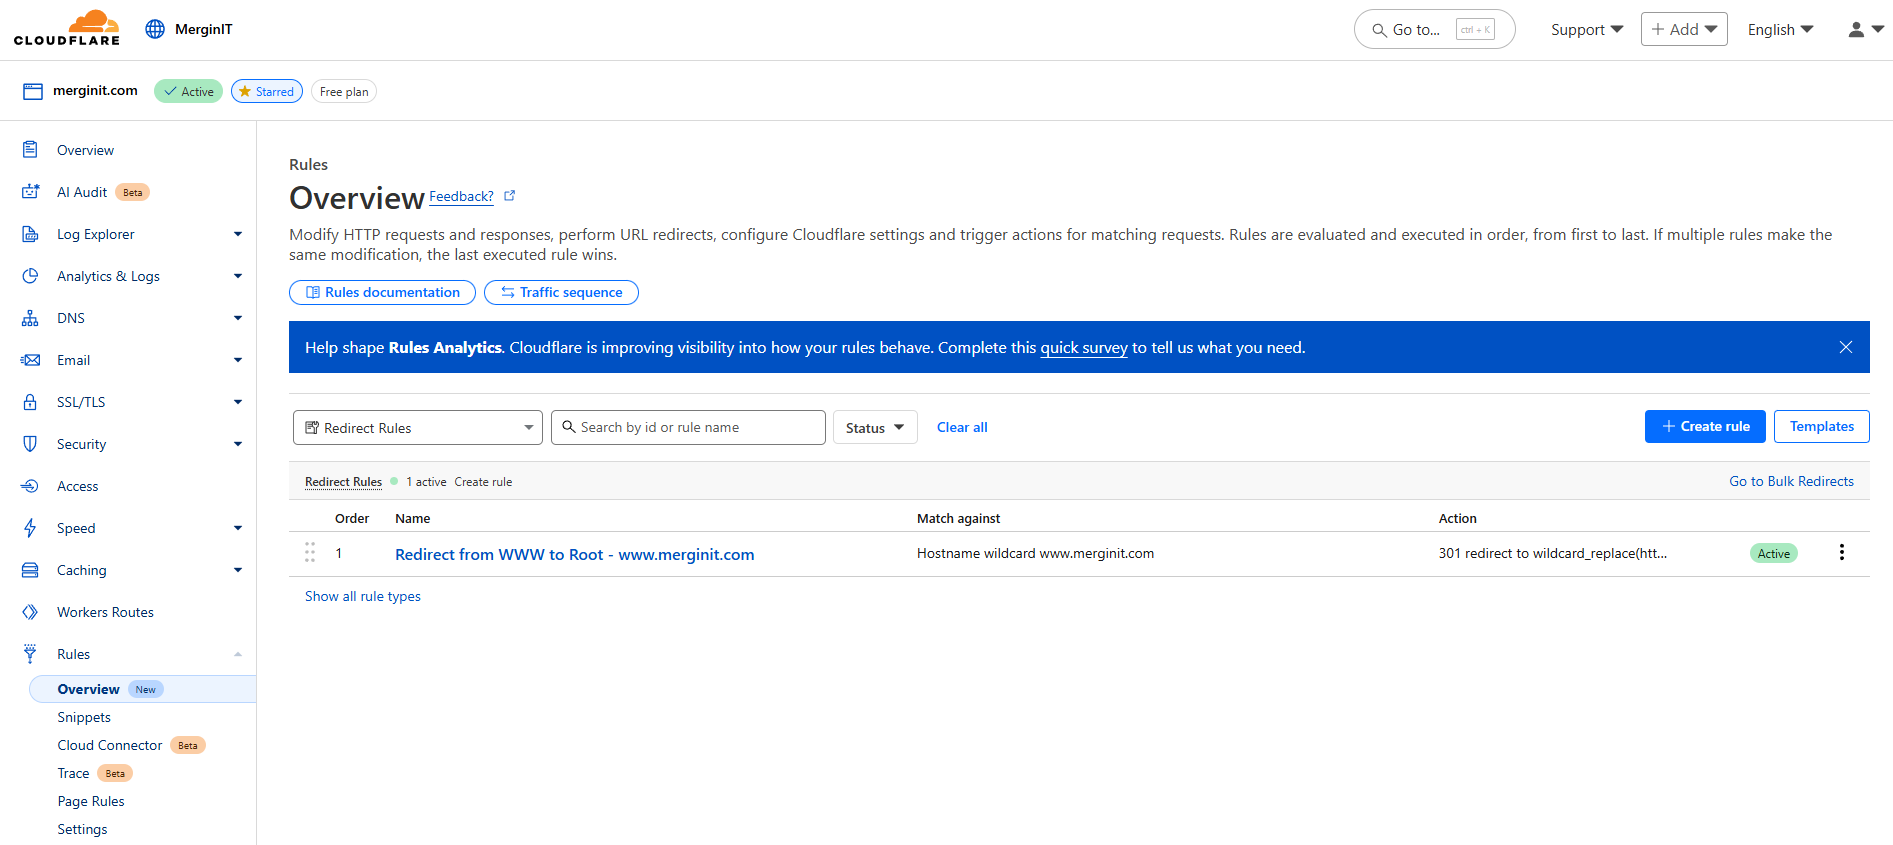
Click the Create rule button.
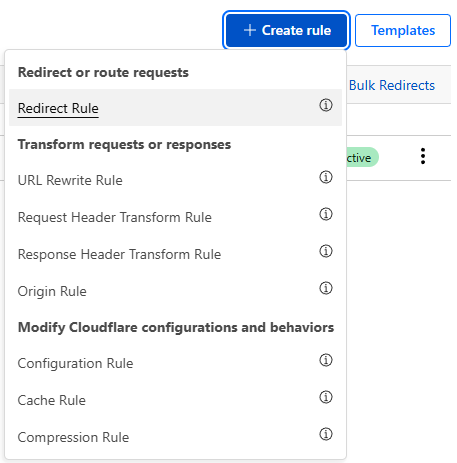
Give your rule a descriptive name, like “Webinar Redirect” or “Helpdesk Link.” and choose one of the 3 templates at the top or make your own custom rule:
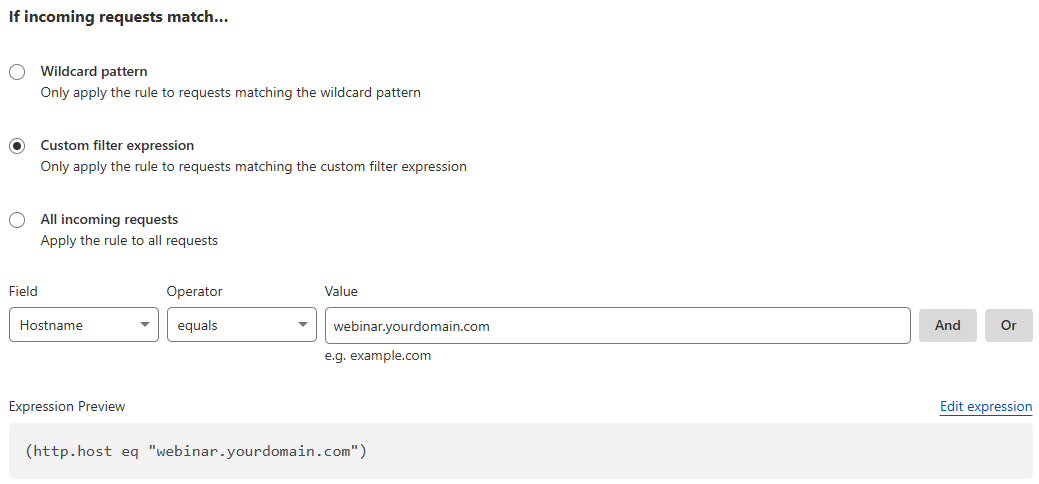
Under the If incoming requests match… section, configure the condition:
- Field: Select
Hostname. - Operator: Select
equals. - Value: Enter the full subdomain you just created (e.g.,
webinar.yourdomain.com).
- Field: Select
Under the Then… section, define the redirect action:
- Type: Select
Static. - URL: Paste the full destination URL that you want users to be sent to (e.g.,
https://event.example.com/live/1/your-event-id). Make sure to include thehttps://. - Status code: Select
301(Permanent Redirect). This is generally the best choice for SEO and tells browsers that the location has moved for good.

- Type: Select
Click the Deploy button to save and activate your rule.

Step 3: Test Your Redirect
That’s it! Your redirect should now be active. To test it, open a new browser tab and type in your new, clean URL: http://webinar.yourdomain.com.
You should be instantly redirected to the long, final destination URL you specified in the rule.
By following these two steps—creating a proxied DNS record and then a specific Redirect Rule—you can easily manage clean, professional links for all your external services, all within the power of your free Cloudflare account.
Why is this a two-step process?
If you’ve used other services like Vercel or a domain registrar like Namecheap, you might be wondering why Cloudflare requires both a DNS record and a separate Redirect Rule. It can feel unnecessarily complex. The reason lies in Cloudflare’s fundamental role as a powerful “smart proxy” that sits in front of your actual website or server.
Because of this proxy architecture, the setup requires two distinct commands:
- The DNS Record (The Address): This step tells the global internet, “For
webinar.yourdomain.com, send all traffic to Cloudflare’s network.” Setting the record to Proxied (the orange cloud) is like putting Cloudflare’s address on the envelope. - The Redirect Rule (The Instruction): This step tells Cloudflare’s network, “Okay, now that you’ve received a request for
webinar.yourdomain.com, here’s what I want you to do with it.”
This separation is what makes Cloudflare so powerful. A redirect is just one of many possible instructions you could give. You could also create rules to block traffic, add security headers, or serve cached content—all from the same system. The “manual” feeling is a side effect of this immense flexibility.
How This Differs from Other Services
- Hosting Providers (like Vercel): These services are the final destination. A redirect is a simple internal configuration within the hosting environment, so it feels automatic.
- Domain Registrars (like Namecheap): Their basic redirect service is a simple DNS-level forward. It’s a pointer, not a powerful proxy, so the setup is minimal and lacks the advanced features Cloudflare offers.
Think of it like a package delivery service:
- Namecheap is the Post Office. It can forward your mail, but it doesn’t open it.
- Vercel is your house. The mail arrives, and you decide what to do with it.
- Cloudflare is a corporate mailroom. It needs a list of recipients (the DNS record) and then specific instructions for each package (the Rules), like “Scan this package” or “Forward this one.”
So, while it’s a bit more work upfront, Cloudflare’s method gives you unparalleled control over how your traffic is managed.
Troubleshooting Common Issues
If your redirect isn’t working as expected, here are the most common problems and their solutions:
Redirect Not Working at All
- Check your proxy status: Make sure the DNS record shows an orange cloud (Proxied), not gray (DNS only). Without proxying, Cloudflare can’t apply redirect rules.
- Verify the rule is deployed: Go back to Rules > Redirect Rules and confirm your rule shows as “Active” with a green status indicator.
- Double-check the hostname: Ensure the hostname in your redirect rule exactly matches your DNS record (e.g.,
webinar.yourdomain.com).
Still Seeing the Old Page or Getting Errors
- Clear your browser cache: Your browser might be remembering an old result. Try an incognito/private window or clear your browser cache completely.
- Wait for DNS propagation: DNS changes can take up to 24 hours to propagate globally, though they usually work within minutes.
- Check for typos: Verify that your destination URL is spelled correctly and includes
https://.
Error 525: SSL Handshake Failed
This error occurs when there’s an SSL/TLS mismatch between Cloudflare and your destination server.
- Use HTTPS in destination URL: Make sure your target URL starts with
https://, nothttp://. - Check destination SSL: Verify that the website you’re redirecting to has a valid SSL certificate and is accessible via HTTPS.
- Try HTTP if HTTPS fails: If the destination doesn’t support HTTPS, you can use
http://in your redirect URL, but this doesn’t encrypt traffic at all.
Rule Limit Reached (Free Plan)
Cloudflare’s free plan allows up to 70 rules + 10,000 “Bulk Redirect” rules (see pricing). If you’ve hit this limit:
- Combine similar redirects: Use wildcards or path-based rules to handle multiple redirects with a single rule.
- Clean up old rules: Delete any redirect rules you’re no longer using.
- Upgrade your plan: Just buy Pro for $20/month (225 rules + 25,000 Bulk Redirects).
If you’re still experiencing issues after trying these solutions, check Cloudflare’s status page or consider reaching out to their community support forums.